Experimenting in 3D: Blender
Dec 31, 2025

Entering the third dimension
In 2020, I bought an iPad with cash I'd saved up from working part-time jobs, and decided I would teach myself to draw. It's been an incredibly slow and meandering process, but trying to learn perspective, anatomy, mark making, composition and more was really rewarding. That first step opened up a whole new world for me: boothing for the first time at Curbside Crafters, creating my own zines with friends, and even making art for game jams.
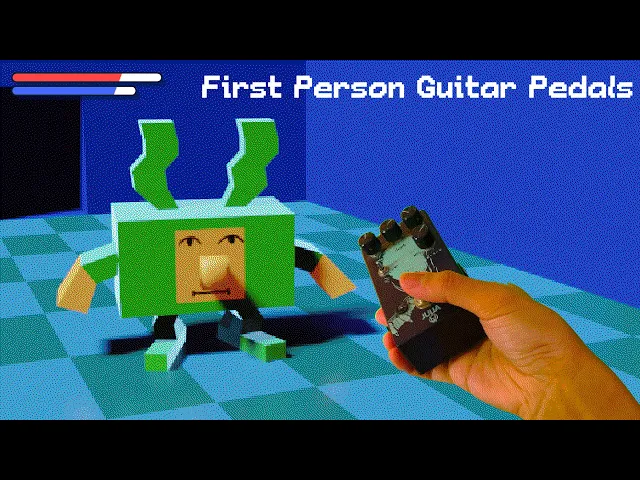
Along the way, one of my biggest inspirations has been Louie Zong, a peerless animator-illustrator-musician who has topped my Spotify Wrapped for three years running. My first game, a day in helsinki, was directly inspired by his game, windsor road, a reflection of his time in college. But for a few years now, the primary medium he creates in has been 3D, from hilarious animations to incredible pieces of art.
One of my all-time favourite pieces from Louie Zong.
So this September, when I was looking for a new challenge, I thought I'd give the FOSS 3D behemoth, Blender, yet another try.
First steps
I've been in and out of Blender over the past two years, but kept running up against the first problem most beginners do: the interface. With a tool as complex as Blender, I needed a tutorial just for modelling and deforming simple shapes (what even is a loop cut?!). Even navigating around in 3D space was unintuitive. But it didn't stop at modelling; there was lighting, materials and HDRIs to learn about. Ultimately, I always closed the software defeated and overwhelmed.
Early Blender experiments from 2023.
Still, with each attempt, I learned something new: crucial keyboard shortcuts, trackpad gestures and functions that taught me how Blender was meant to be used. As of my most recent try, the interface finally started to feel natural—I'd learned enough to enter that satisfying flow state, the end goal of all UX design. (Side note, I would love a process video from a Blender UX/UI designer.)
Experimenting with animation
Once I'd gotten the hang of the interface, I set out to learn how to animate. Fortunately, Blender's incredible keyframe animation capabilities meant moving, rotating and scaling any object was simple, including the camera itself. My first render was this Nintendo Switch render, my take on a promotional animation. Ideally, the camera would pan as the joycons clicked in, and the entire Switch would raise up as the logo animation played.
I created a quick logo animation in Cavalry, an After Effects alternative that was easy to pick up after using AE.
A short promotional-style animation for a Nintendo Switch.
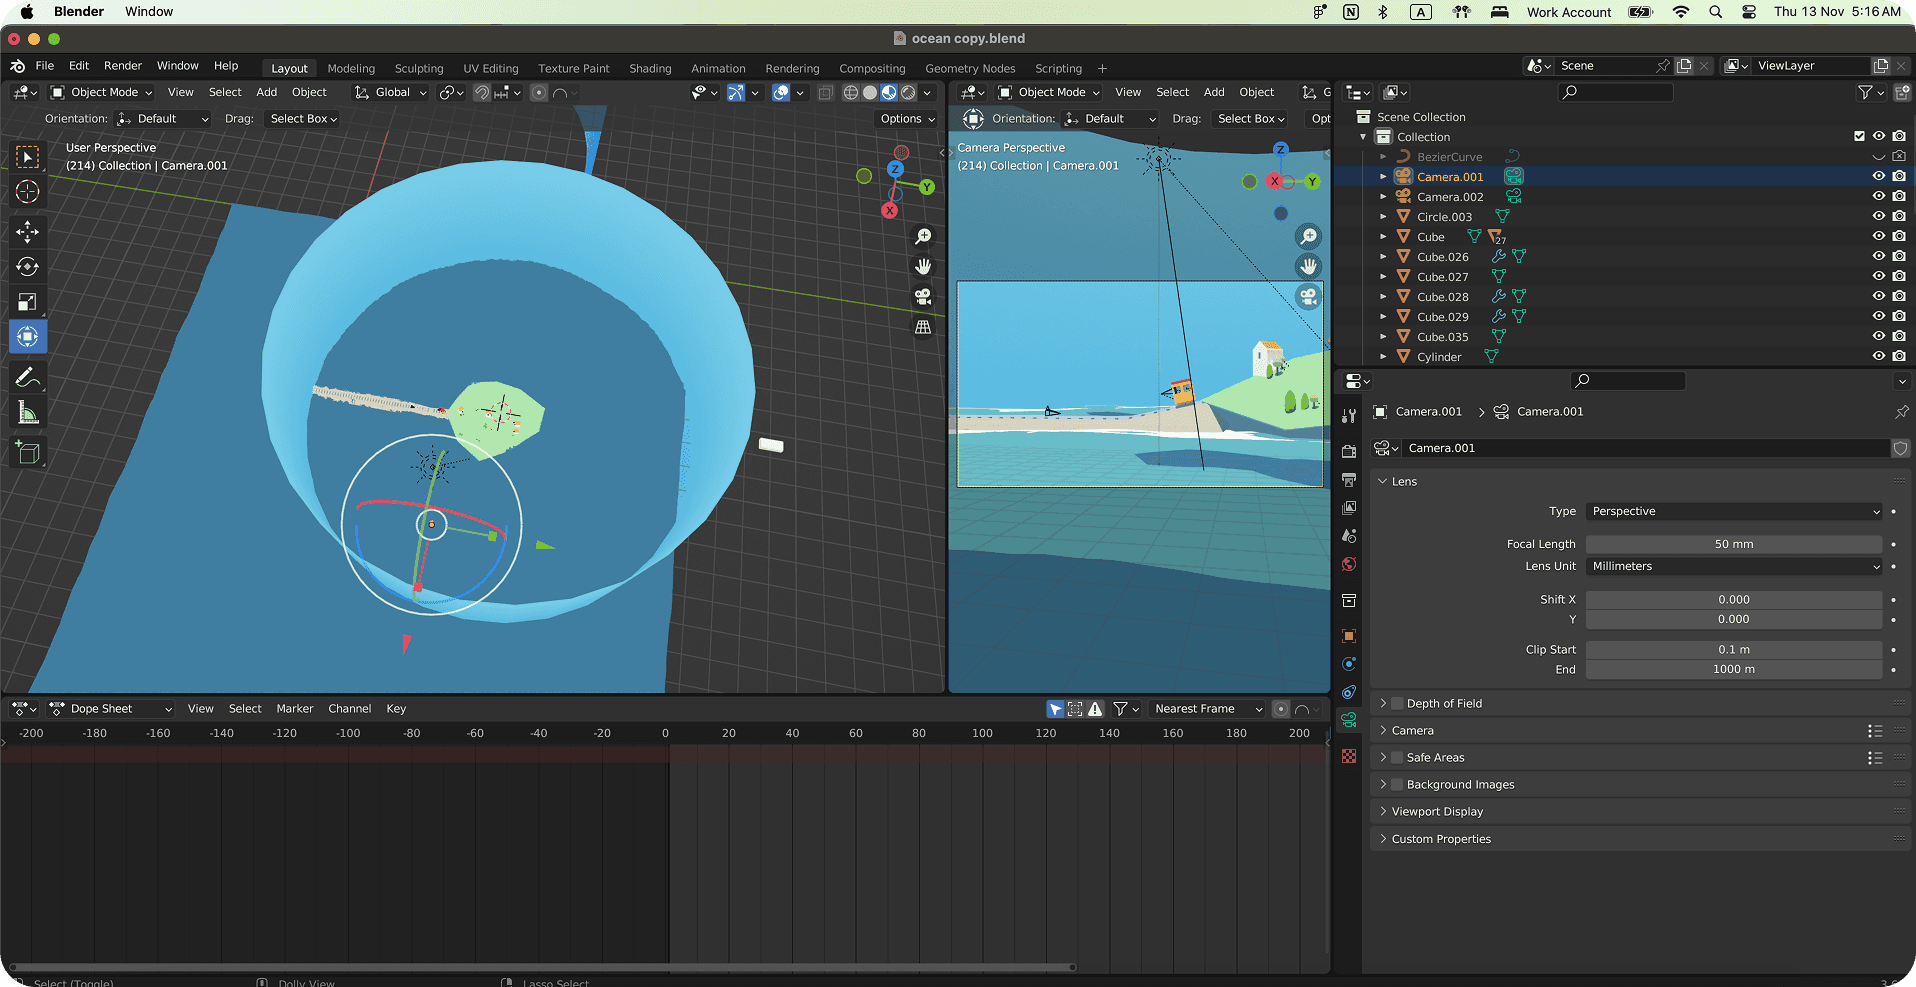
From there, I tried to branch out, creating scenes with Emission materials for that low-poly, cel-shaded look. One of my inspirations was the Lüttmoorsiel-Nordstrandischmoor Loren island railway in Germany, which I'd love to ride someday. This eventually became the ocean railway, a little trolley animation that experimented with different camera angles.
This piece ended up being a fun exercise in problem solving, not least because the different camera angles meant I had to make the sky consistent from all sides. So, just using a flat plane wouldn't work. Incredibly, the solution came to me because I'd rewatched The Truman Show recently.
That's right: encasing the entire scene in a blue cylinder worked perfectly.
The final challenge
While spending my weekend nights rendering and re-rendering scenes had become my idea of a good time, I was ready to give myself one last challenge. I wanted to combine everything I'd learned about modelling, materials and lighting in the past month into one final animation.
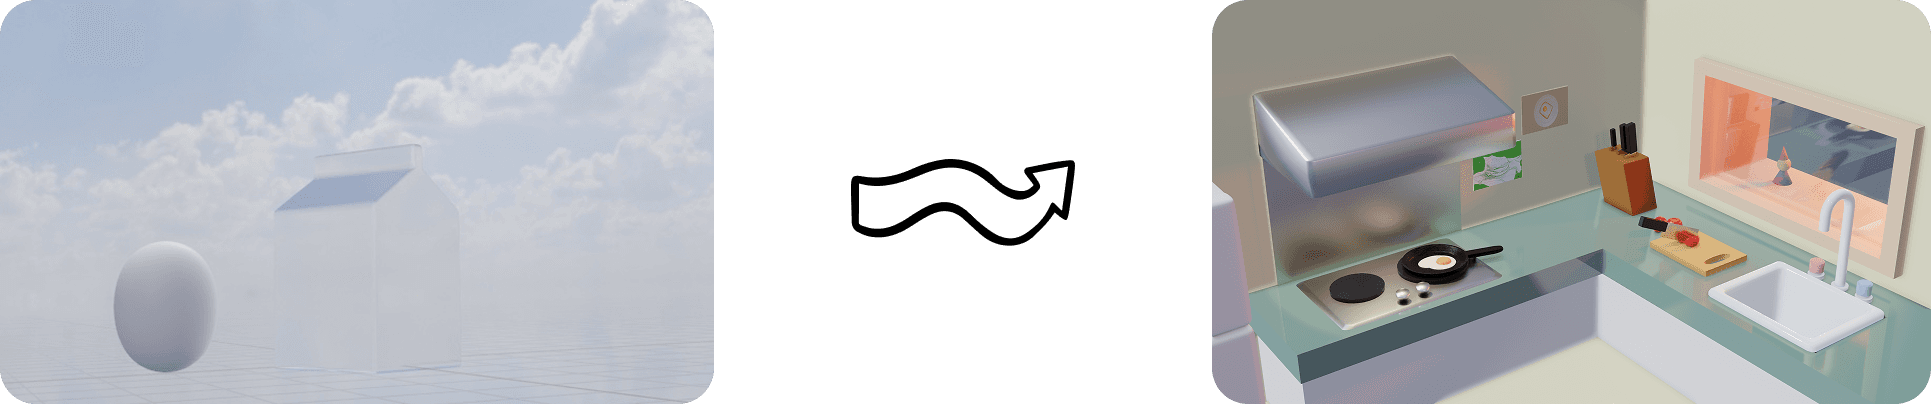
After some sketching, I decided I wanted to do a classic 'still life', captured on a TV. The TV would increase in quality as a slider slid from left to right. In reality, I'd achieve this by doing four different renders of the same scene: black and white, 8-bit, low-poly and then fully rendered.

All that was left was to model a semi-realistic TV cabinet, with a large knob slider that made a satisfying click sound each time the scene changed. I threw the animation together in DaVinci Resolve, adding scanlines and slight chromatic abberation to sell the effect.
Last thoughts
Experimenting with new software is one of my all-time favourite things to do, and finally getting the hang of Blender ranks up there with my achievements of 2025.
While I'm still a novice at 3D modelling, it's already proving useful, whether it's modelling game backgrounds for reference, or creating my own placeholder images. Eventually, I'd love to try character rigging, and then finally take the plunge into making 3D games someday. For now, I'm putting down the gizmo and taking a quick Blender break.